Last updated November 22, 2026
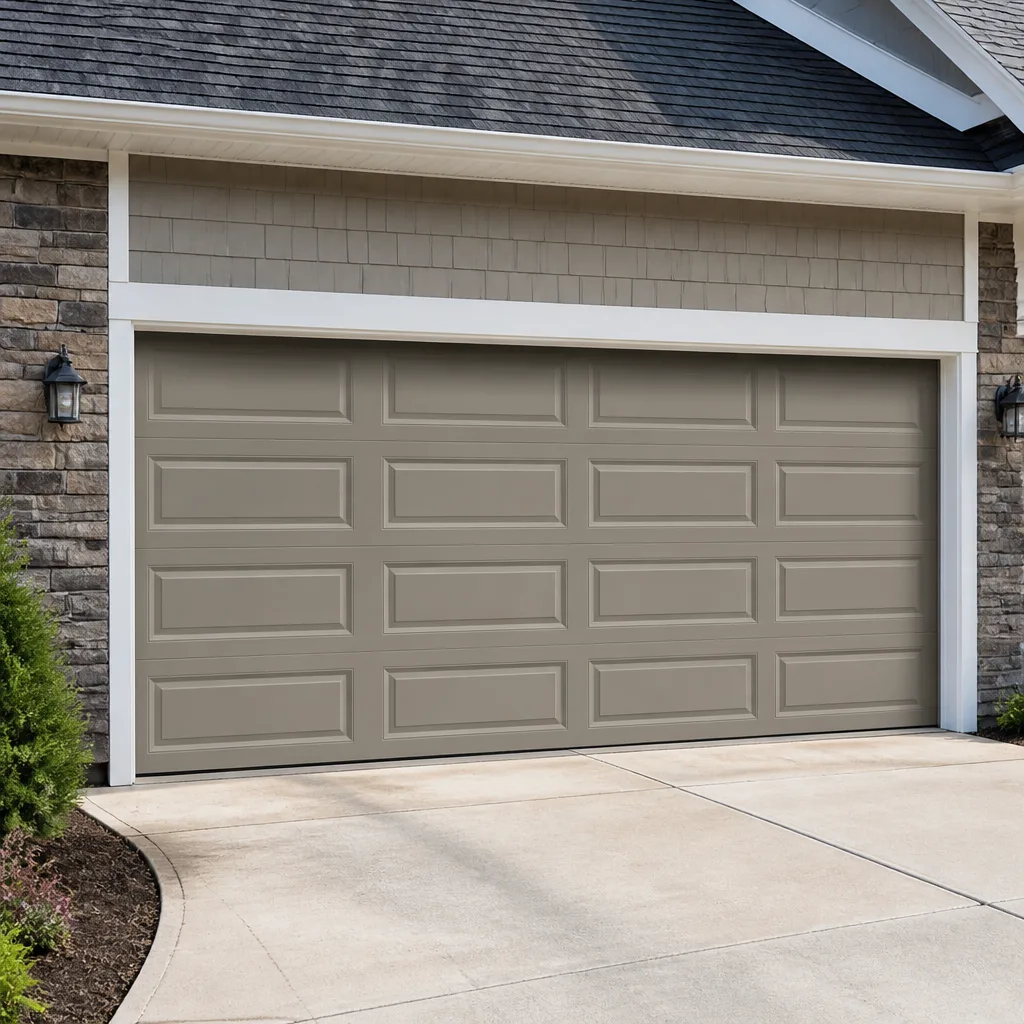 Raised-panel steel
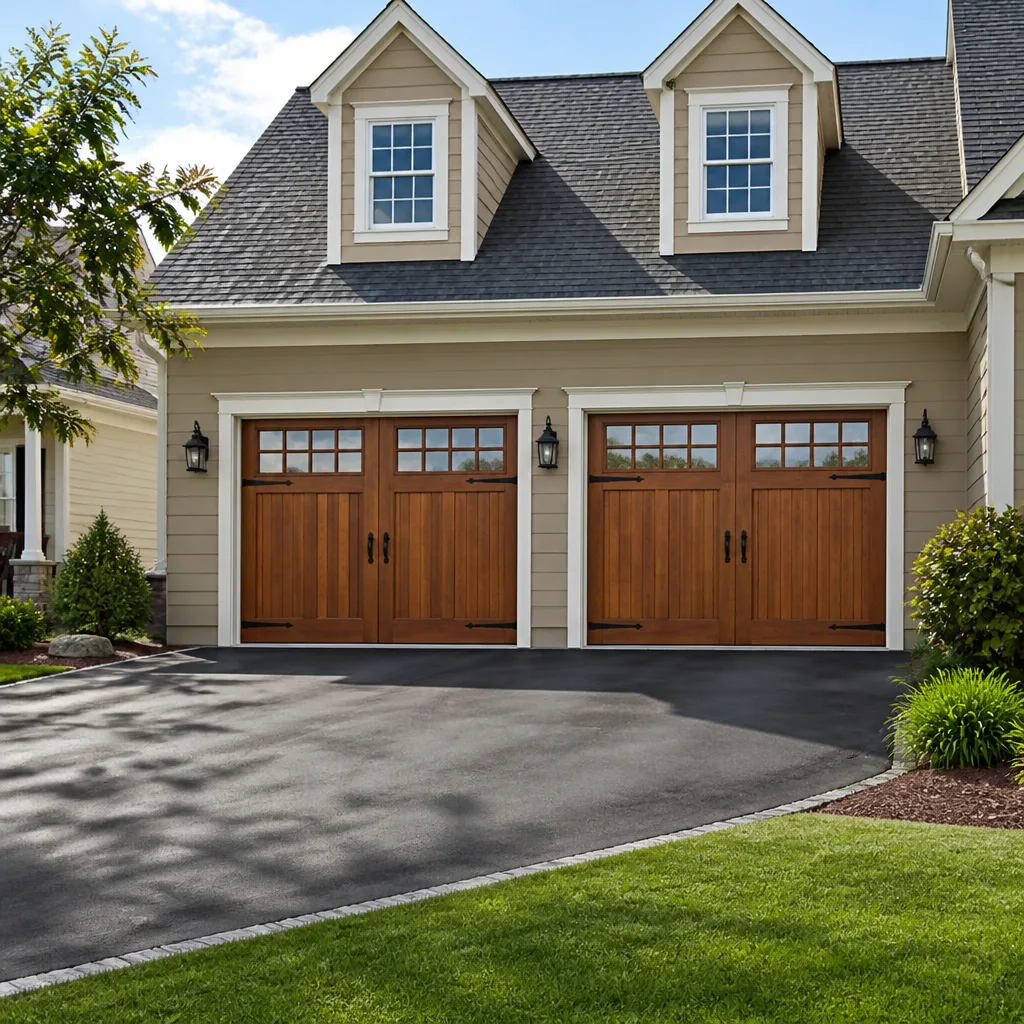 Carriage house
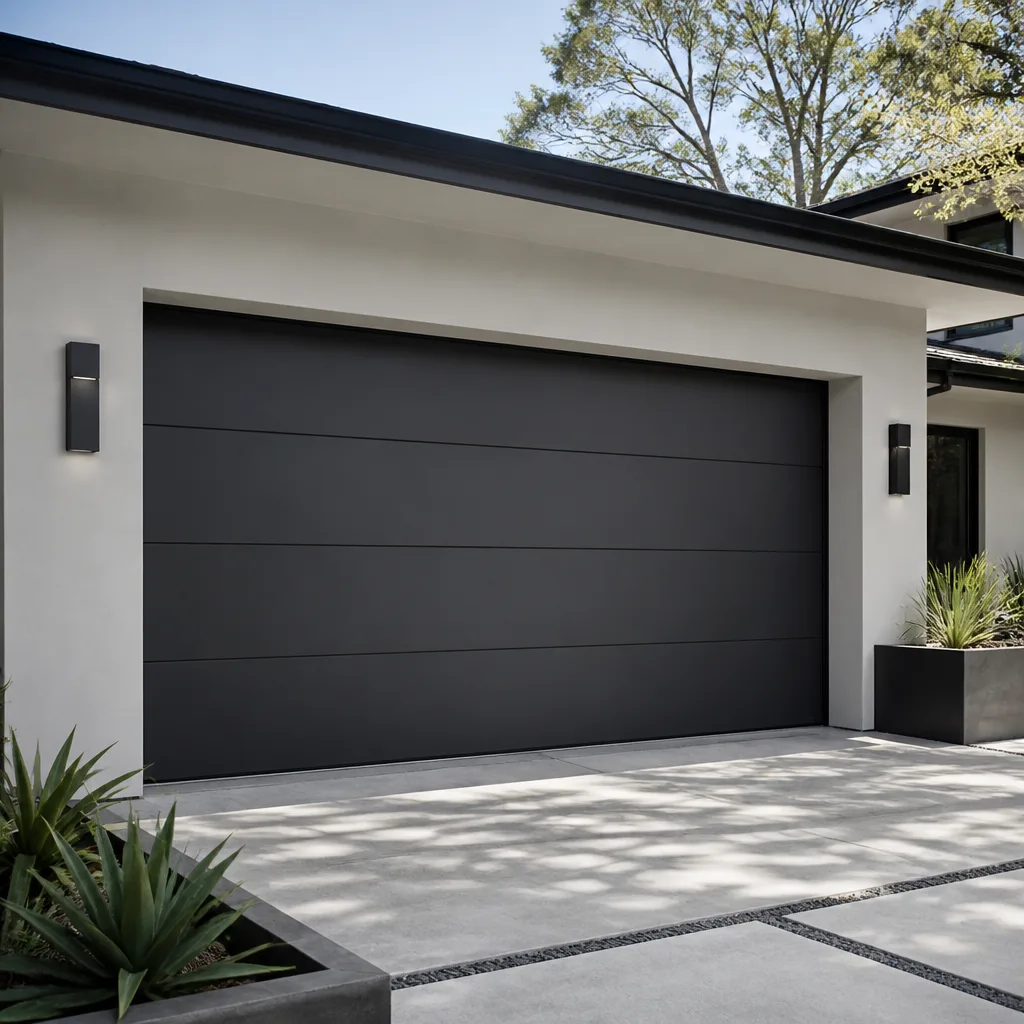 Modern flush
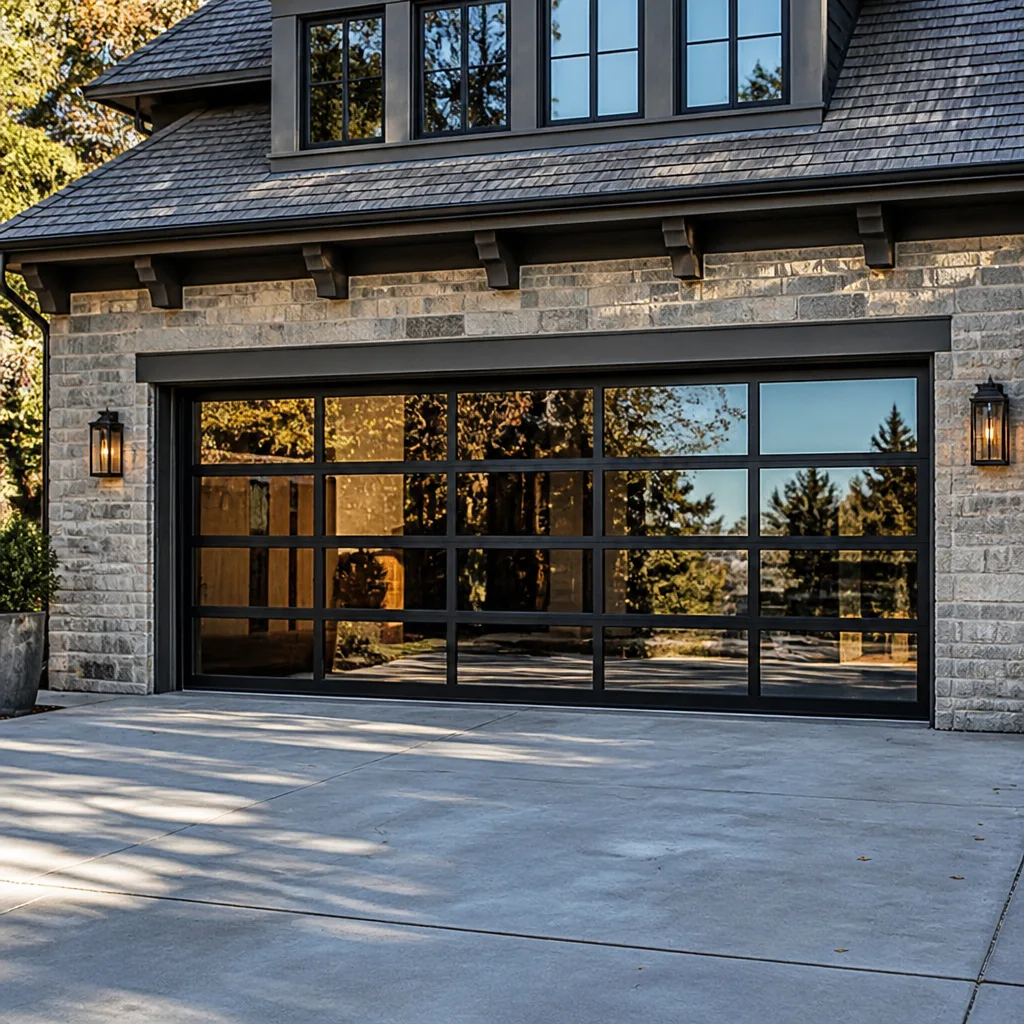 Full-view glass
 LiftMaster openers
 Chamberlain openers
Full 25-point door and opener safety check with every visit - springs, cables, rollers, tracks, and your LiftMaster or Chamberlain opener included
You get a price before we start. It does not change when the pro arrives.
Get your free estimateGarage Door Repair Maintenance Checklist for Boulder Homeowners
A garage door rarely fails without warning. It tells you something is wrong days or weeks before it stops working, usually through a noise, a shudder, or a gap you can see from the driveway. The trouble is that most people file those signals under “maintenance” until the morning the door won’t open and the car is trapped inside. Here’s the fix: treat what your door is telling you as a decision, not a chore. Some symptoms are a ten-minute fix with a can of lubricant. Others mean you should stop using the door today and call a specialist. This guide walks you through a symptom-first checklist built for Boulder homes, from winter cold snaps to spring wind, so you know exactly what to check, in what order, and when to put the tools down and pick up the phone.
Quick Answer
To keep a garage door reliable in Boulder, inspect it monthly for noise, movement, and hardware condition, lubricate moving metal parts twice a year (before winter and after it), and replace weatherstripping when it cracks or hardens. Any sign of a bent or frayed cable, a spring with a visible gap, or a track that has moved more than a quarter inch means stop and call a professional rather than adjust anything yourself.
Styles & brands we work with
- Raised-panel steel
- Carriage house
- Modern flush
- Full-view glass
- LiftMaster openers
- Chamberlain openers
Table of Contents
- The Symptom-First Decision Tree
- Three Hardware Parts That Fail First in Boulder
- When to Stop and Call a Pro: Exact Thresholds
- Cold-Snap Checks: Lubricant and Weatherstripping
- Your Boulder Seasonal Frequency Table
- The Ten-Minute Monthly Walkthrough
- Opener and Safety-Reverse Checks
- When to Call a Professional
The Symptom-First Decision Tree
Most checklists give you a flat list of items to inspect and leave you to figure out what a finding means. We’ve found the more useful approach is to start with the symptom and follow the branch. Read your door in this order: visible damage first, noise type second, movement behavior third, hardware condition last. Each branch has three possible outcomes – a simple DIY fix, a scheduled service call, or an immediate stop-and-call. Working through them in this sequence keeps you from lubricating a hinge while missing a cable that’s about to snap.
Symptom 1: Visible Damage
A bent bottom panel, a panel that’s out of line with its neighbors, or a dent that keeps the door from sealing is the first thing to catch. Minor cosmetic dents don’t affect operation. A panel that has shifted so the door no longer sits flat on the threshold does. If the door still closes flush and the opener isn’t straining, note it and move on. If the bottom section is buckled or the door catches at one corner, that’s a scheduled repair call.
Symptom 2: Noise Type
Listen for the difference between a rattle, a grind, and a squeal. A rattle or light squeak usually comes from dry rollers or hinges and responds to lubrication. A grinding sound that seems to come from the opener itself points to gear wear inside the unit, which is a service call. A sharp metal-on-metal screech or a pop that repeats every time the door moves is a hardware symptom, not a lubrication one, and the door should come off daily use.
Symptom 3: Movement Behavior
Watch the door travel its full cycle. It should start smoothly, run at a steady pace, and slow near the end. If it jerks, hesitates, reverses without hitting anything, or travels at a visibly uneven pace, the problem is usually balance, a worn roller, or an opener force setting that needs attention. A door that moves in stops and starts is telling you something is binding.
Symptom 4: Hardware Condition
This is where you look at the springs, cables, and track with your eyes and a flashlight, not your hands. Rust, fraying, a gap in a spring coil, a track that has shifted off its mounting, or a bracket that’s pulled away from the wall all show up visually. This is the branch where you decide whether to keep going with your maintenance or hand it off.
If you’re not sure which branch a symptom belongs to, a real inspection settles it fast. That’s exactly what garage door repair in Boulder is for.
Three Hardware Parts That Fail First in Boulder
Boulder homes take a particular beating from freeze-thaw cycling. Between the temperature swings and the spring wind that socks the Front Range, three hardware components wear out faster here than the rest, and all three can be inspected in under five minutes with a flashlight and a set of eyes. Knowing which parts are under the most stress tells you where to look first.
1. Hinges and Their Fasteners
Every freeze and thaw cycle works at the metal hinges and the screws holding them. Loose hinge screws are one of the most common findings we hear about – they let the door sag slightly, which throws the panels out of alignment and puts uneven load on the opener. Walk along the door and look at each hinge; a screw backing out of the wood or metal frame shows as a gap or a lifted head. If a hinge is cracked or a screw won’t hold, that’s a scheduled repair.
2. Bottom Seal and Weatherstripping
The rubber bottom seal takes direct contact with the driveway slab, and UV exposure from spring sunlight hardens and cracks it over a season. A seal that’s stiff, torn, or no longer touching the ground lets in cold air, water, and debris, and it can also trip your safety sensors if it drags. Run a hand along the outside face (with the door closed) and look for cracks and gaps at the corners where the door meets the frame.
3. Rollers
Rollers ride in the track and take the full weight of the door as it moves. Nylon rollers are quieter and last longer; steel rollers wear faster and get noisy. A cracked wheel, a flat spot, or a roller that wobbles in its stem means it’s time for new ones. Check them with the door closed so you can see each roller seated in the track.
When those three pass inspection but the door still won’t open, the issue is usually the motor or the control electronics. That’s where garage door opener repair comes in, and it’s a different diagnosis from a hardware problem.
When to Stop and Call a Pro: Exact Thresholds
Maintenance is safe up to a point, and past that point it becomes dangerous. High-tension springs and loaded cables store enormous force, and the failure mode is sudden. We’re deliberately specific here so you can make the call with a measurement instead of a guess. Use these thresholds to decide whether to keep going or stop.
Spring Tension – Stop and Call
A torsion spring with any visible gap between the coils on a coiled spring, or an extension spring with a stretched-out gap, has failed or is failing. Do not try to open and close the door repeatedly on a broken spring. On a torsion spring, the safe check is visual: look for a clean gap of about two inches or more in the coil, or a spring that’s hanging loose. Either one means the door should stay shut until it’s repaired.
Cable Fraying – Stop and Call
Cables run down each side and hold the door under tension. A broken strand showing as a curl or a fuzzy spot, or a cable with a single broken wire visible, is a stop signal. Never touch a cable, and never try to re-wrap one that has come off its drum. That’s a professional job with proper tools and a controlled release of tension.
Track Misalignment – Check the Gap
A track that has shifted more than about a quarter inch out of its normal line, or a track bracket that’s pulled away from the wall, is out of alignment. A door can bind and jam on a track that’s off by even a small amount, and forcing it puts stress on the opener and the panels. If you can see daylight between the track and the bracket, or the track and the door no longer sit parallel, stop and call.
Bent or damaged tracks, cables, and springs are the three most dangerous garage door repairs. A trained technician handles these on every call, and it’s exactly why garage door spring repair exists as a service in its own right rather than an add-on.
Cold-Snap Checks: Lubricant and Weatherstripping
Boulder winters swing hard between daytime sun and overnight freezes, and that swing does more damage to a garage door than a steady cold stretch. Two checks belong around the cold snaps: the condition of your lubricant, and the condition of the weatherstripping. Both are easy to read once you know what you’re looking at.
Lubricant Viscosity Assessment
Lubricant on hinges, rollers, and the torsion spring has a job: it keeps metal from grinding and protects against moisture. After a cold snap, the wrong lubricant or a dry surface becomes obvious. Look for white crust or a dry, chalky surface on the hinges and the torsion bar. That chalk is the lubricant that used up its protection. A door that gets noticeably noisier on a cold morning is usually telling you the same thing. Apply a garage-door-specific lubricant to hinges, rollers, and the torsion spring with the door closed, then cycle it twice. Never use WD-40 as a substitute – it’s a cleaner, not a long-term lubricant, and it evaporates fast in the cold.
Spring UV Exposure on Weatherstripping
Spring sunshine is the other half of the problem. UV light hardens the rubber weatherstripping along the bottom, the sides, and the top, until it cracks and stops sealing. Run a hand along the edge: rubber should be flexible and slightly springy. If it feels hard, cracks at the fold, or peels away from the door, it’s time to replace that section. A fresh seal keeps wind, water, and insects out, and it also lets your safety sensors work the way they should.
If the door has spent the winter sticking, grinding, or failing to seal, a full check from the team that runs Boulder Garage Door Repair Pros catches the cause before it becomes an emergency.
Your Boulder Seasonal Frequency Table
A generic quarterly calendar doesn’t match the way Boulder actually seasons. Fall prep happens before the first hard freeze, and post-winter checks happen once the melt is done and the spring wind arrives. This table ties each check to the season that makes it matter. Use it as a rotation, not a to-do list, and you’ll catch most problems before they strand the car.
- October – before first freeze: Lubricate hinges, rollers, and torsion spring. Check the bottom seal for hardening. Inspect hinge screws for looseness. Test the safety reverse with a small object.
- December through February – mid-winter quick pass: Listen for new noise on cold mornings. Check the door for ice buildup at the threshold. Look for white crust on lubricated surfaces and reapply if needed. Clear snow and ice from the bottom seal contact line.
- March – after the melt: Full hardware inspection – hinges, rollers, cables, tracks. Check weatherstripping for UV cracking. Confirm the door still travels smoothly its full cycle.
- April through June – spring wind season: Balance test with the door half-open. Check track brackets for movement. Reapply lubricant if you didn’t in March.
- July – mid-summer reset: Light lubrication on hinges and rollers. Test the opener force and safety reverse. Look for panel alignment changes.
- August and September – pre-fall prep: Full cycle test. Replace any cracked weatherstripping before the cold returns. Confirm spring tension looks even. Clear debris from the track channel.
A door that survives a full rotation without any branch landing on “stop and call” is a door that’s ready for the next season. If you’re not sure whether yours passes, we can tell you in an inspection.
The Ten-Minute Monthly Walkthrough
You don’t need to know the internal workings of the door to catch a problem early. This walkthrough takes about ten minutes and covers the four things that matter most. Do it once a month and the decision tree above will have something real to work from.
- Cycle the door and listen. Open and close it fully once and pay attention to the sound. A healthy door hums. If you hear grinding, screeching, or a repeating pop, note where on the door the sound comes from.
- Walk the door with a flashlight. Look at each hinge, each roller, and the track on both sides. Note cracks, loose screws, bent wheels, or track gaps. This is a visual check only.
- Check the bottom seal. Lower the door fully, then press on the seal. It should be soft and touch the floor across the whole width. Any hard, cracked, or lifted section is a replacement candidate.
- Test the safety reverse. With the door open, place a small object in the path and close it. The door should stop and reverse on contact. If it doesn’t, stop using the door until it’s checked.
That’s it. You’ve now got a record of the door’s condition this month. If anything you found falls into a stop-and-call category, don’t push it further – the DIY part of maintenance ends where spring and cable tension begins. Modern and legacy openers alike, from a Craftsman unit still running well to an Amarr door with current electronics, all respond the same way to a careful walking inspection.
Opener and Safety-Reverse Checks
The opener is the part of the system most people think about when the door fails, but it’s also the part where homeowners most often replace the wrong thing. Before you assume the opener is dead, confirm that the door itself isn’t the problem. A heavy, binding door will stall a perfectly healthy opener. That’s a door issue, not an opener issue.
Test the opener in this order:
- Disconnect the door from the opener (using the release handle) and open it by hand. A well-balanced door should hold halfway open on its own. If it won’t, the door or spring needs attention before the opener does.
- Check the safety sensors at the bottom of each track. Confirm each has a steady light and isn’t blocked or misaligned. A blinking or dark sensor will stop the door partway every time.
- Press the wall button and listen for the motor. A hum with no movement points to a stripped gear or a dead capacitor inside the unit.
- Check the remote and the wall control separately. If the remote fails but the wall button works, the problem is usually the remote or its battery.
Different brands fail in different ways. Wayne Dalton and Raynor openers have their own quirks; so do the smart-home integrated LiftMaster and Chamberlain units and the legacy Craftsman systems many Boulder homes still run. Knowing the brand saves time on diagnosis, and it’s often the difference between a quick repair and a replacement recommendation. When the motor itself is the problem, we diagnose and repair it rather than starting with a replacement.
Common Mistakes to Avoid
- Greasing the door with the wrong product. WD-40 and motor oil aren’t garage door lubricants. They attract dust and dry out fast in the cold, which makes hinges and rollers wear quicker. Use a product made for garage doors.
- Adjusting a torsion spring yourself. A torsion spring is under enough tension to cause serious injury if it releases unexpectedly. Unless you have the right winding bars and the training to use them, leave the spring to a specialist.
- Treating a spring noise as a lubrication problem. A metallic pop or twang from the torsion bar isn’t a squeak. It’s a signal of spring stress, and it belongs on the stop-and-call branch.
- Ignoring a track that’s slightly off. A track out of alignment by a quarter inch doesn’t look like much, but it loads the opener and the panels every time the door runs. Fix it before it becomes a track replacement.
- Skipping the fall lube before a hard freeze. Boulder temperature swings are hard on metal. Lubricating in October, not January, means the door is protected through the coldest stretch instead of catching up after it.
- Replacing the opener when the door is the problem. A binding door will stall a brand-new opener just as easily as an old one. Balance and movement get checked first.
- Letting a cracked weather seal go through spring. UV light and water work together on hardened rubber. A seal that’s already cracking in March will need replacing by summer, and the moisture it lets in does more damage in the meantime.
See the difference
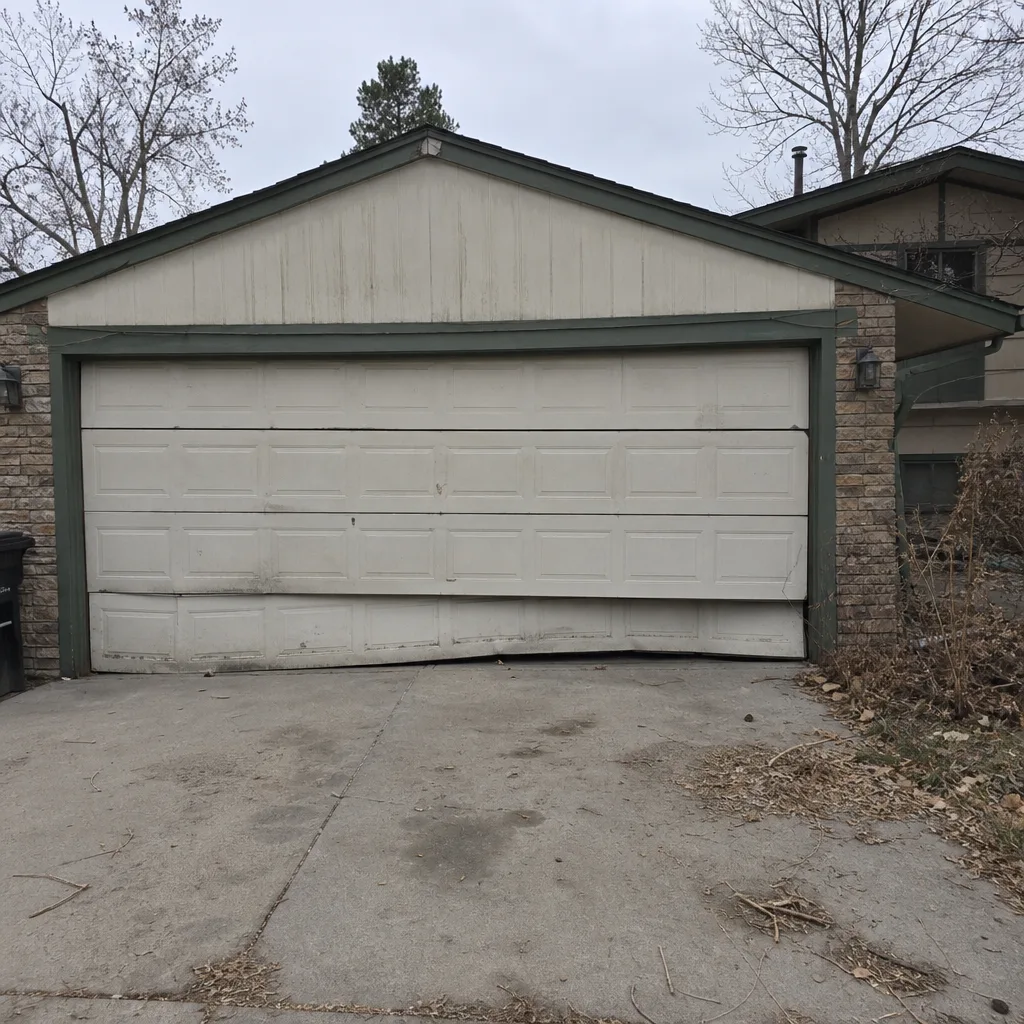 Before
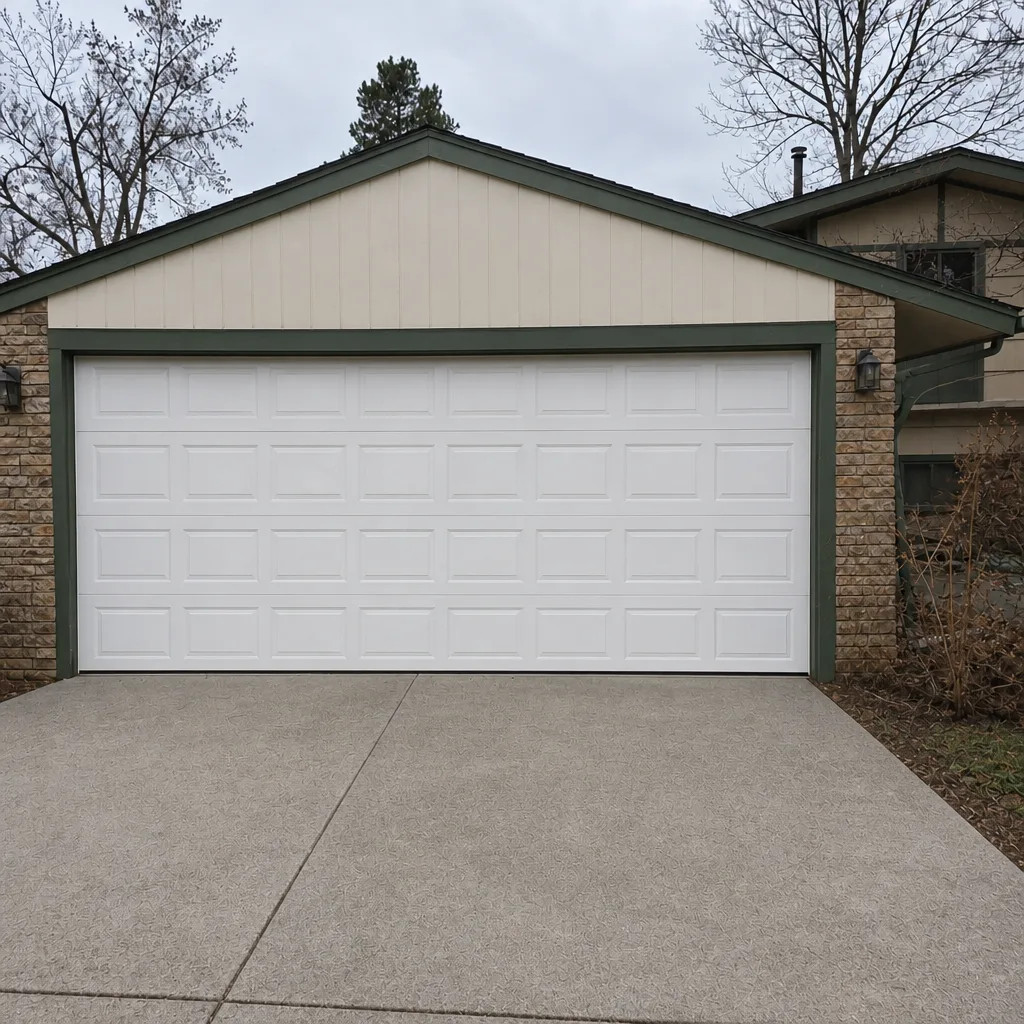 After
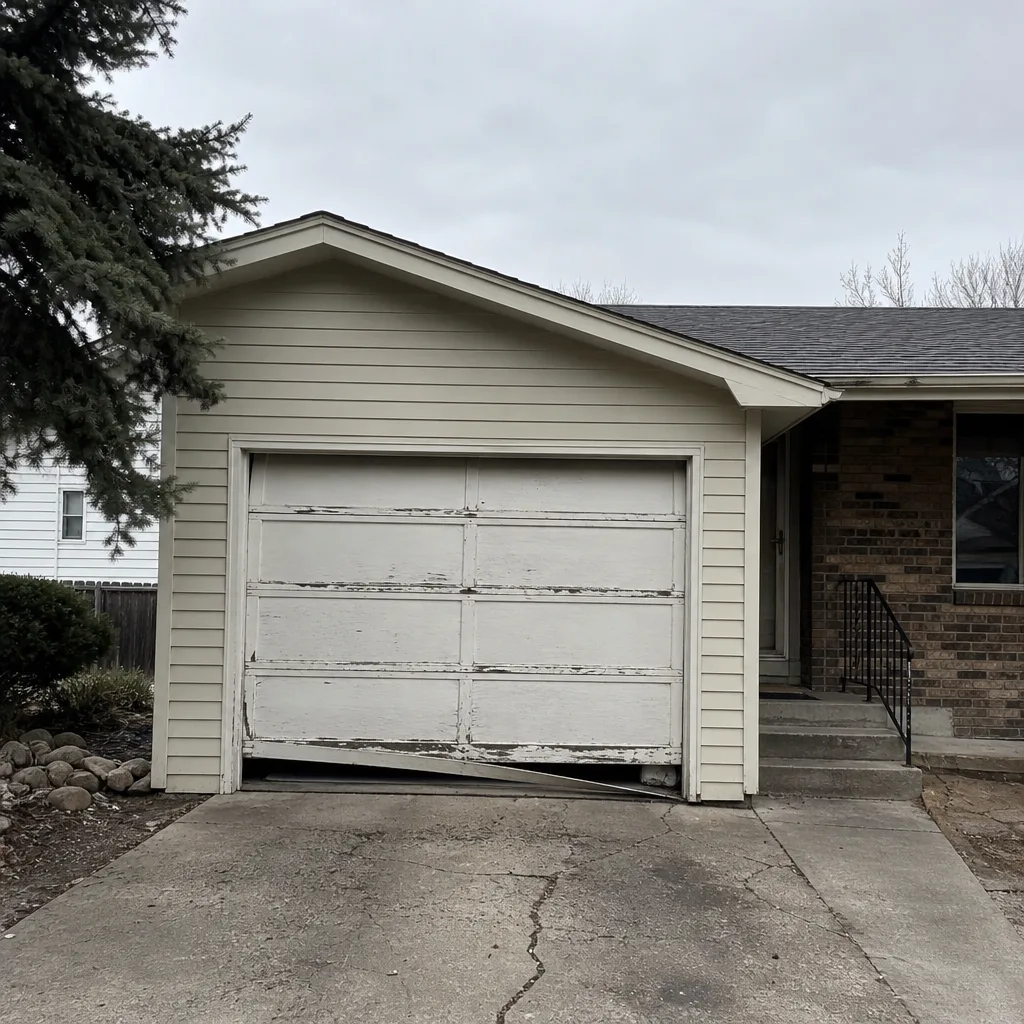 Before
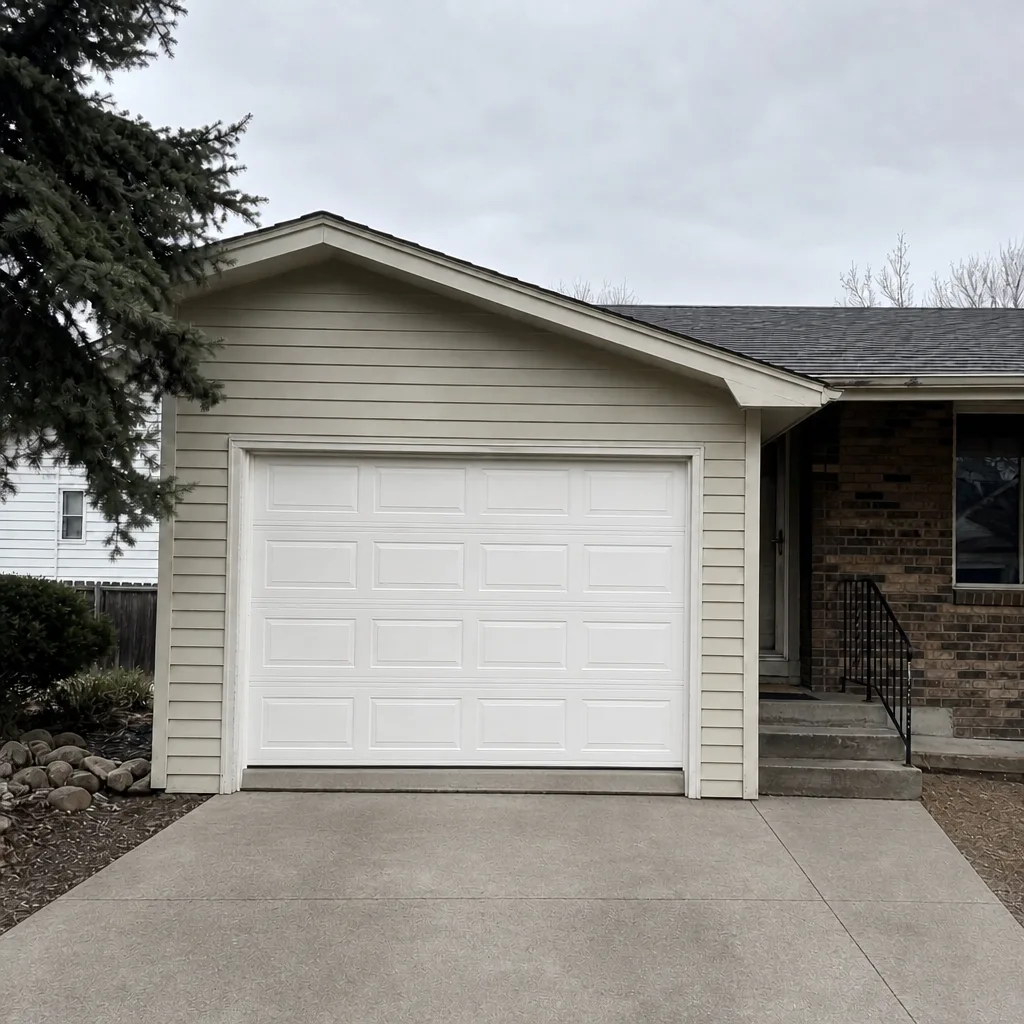 After
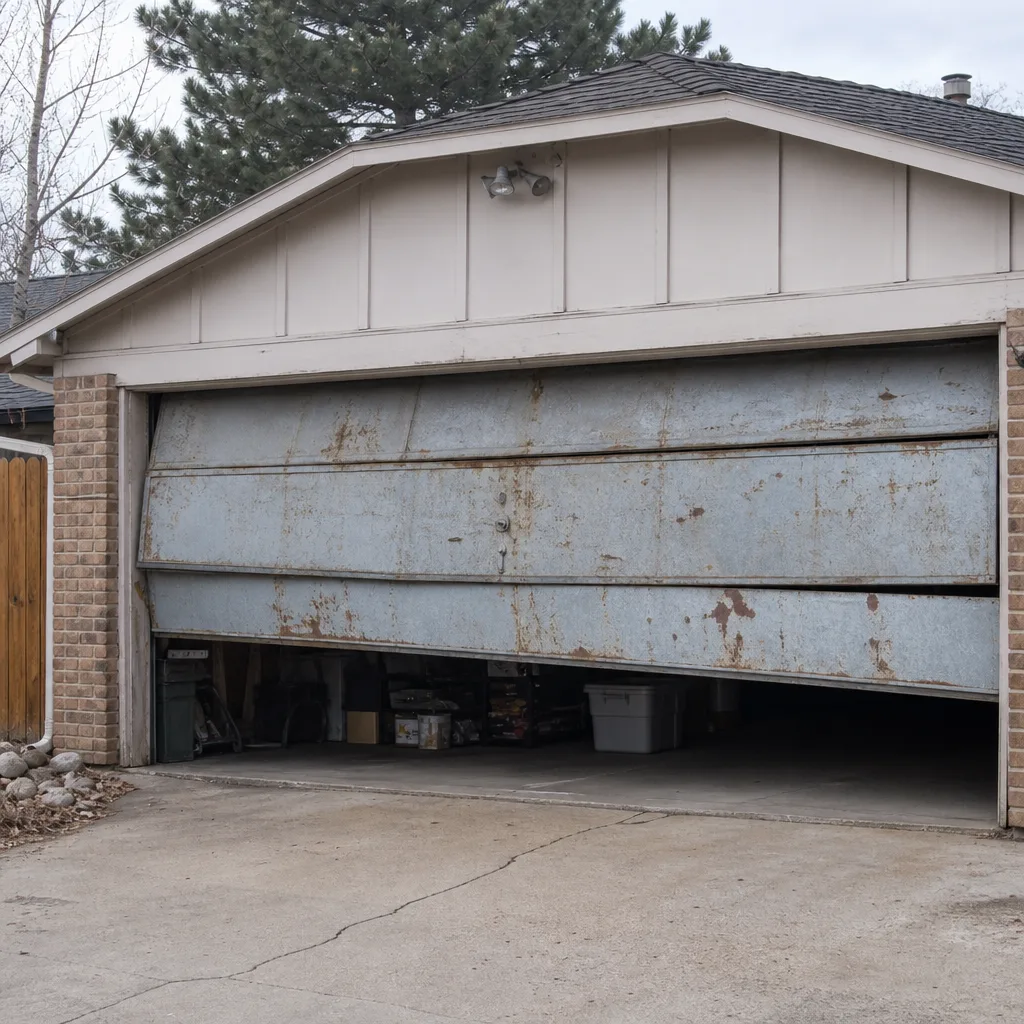 Before
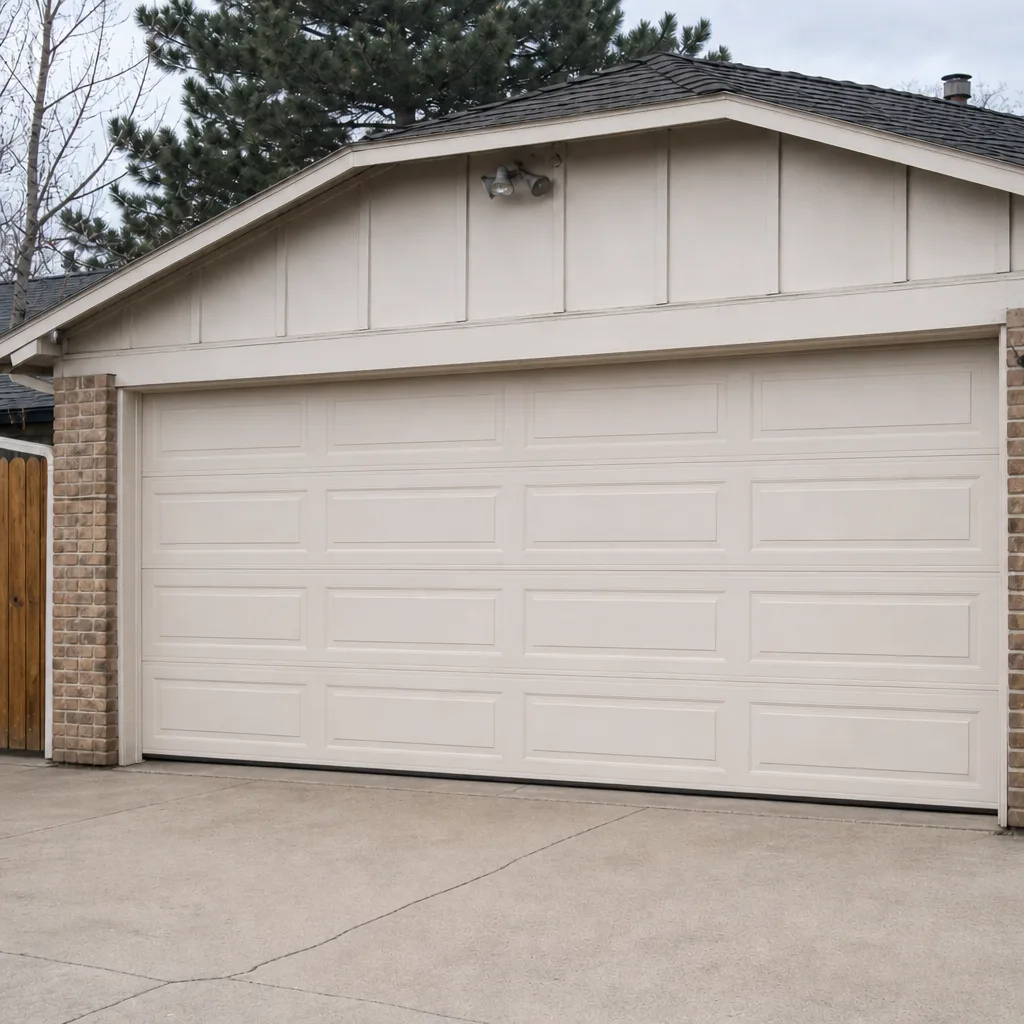 After
When to Call a Professional
Some jobs reward patience and a flashlight. Others reward knowing when to put the tools down. Call a professional when you see a gap in a spring coil, a frayed or broken cable, a track that has moved off its mounting, or a door that won’t hold itself halfway open. Call sooner if the door is stuck open, if you can’t secure the house, or if the opener runs but the door doesn’t move. Those aren’t maintenance items – they’re safety items, and a trained technician handles them with the right tools and a controlled method. Boulder Garage Door Repair Pros offers free estimates in Boulder, with same-day service and fast dispatch from 7am to 7pm for urgent calls. Estimates are free and the price is quoted and agreed before any work starts. Call (855) 694-6347.
Frequently Asked Questions
Twice a year is the baseline for most Boulder homes: once in October before the first hard freeze and once in March after the melt. That schedule catches the freeze-thaw wear that shows up on hinges and rollers, plus the UV cracking that shows up on weatherstripping in spring. Monthly visual walkthroughs fill the gap. If your door gets heavy daily use, or your home sits on an exposed, windy lot, add a summer lubrication pass. Call (855) 694-6347 if you’d like a professional check at either seasonal point.
Yes, lubricating hinges, rollers, and the torsion spring is a safe homeowner task. Use a lubricant made specifically for garage doors, not WD-40 or motor oil, and apply it with the door closed. Wipe off any excess so it doesn’t attract dust. Never lubricate the tracks themselves – the rollers need to roll, not slide, and a greasy track makes them slide. If you’re unsure which parts to hit, a technician can walk you through it on an inspection. Call (855) 694-6347 to book one.
Spring repair in Boulder is typically quoted at around $180 to $340 for a single spring, and a matched pair is usually replaced together, so a pair runs about twice that. The written estimate sets the final price, and it’s agreed before any work starts. Don’t take a phone number as the final answer – a technician inspects the door first so the quote covers the actual spring and hardware involved. Call (855) 694-6347 for a free estimate.
A gap in the spring coil, a door that suddenly feels very heavy, a loud pop from the garage, or a door that won’t open past a few inches all point to a failing spring. On a torsion spring, look for a clean gap where the coils should be tight; on an extension spring, look for a stretched-out section or a spring hanging loose. Any of these means stop using the door and call. Spring repair is specialized, safety-sensitive work, not a DIY job. Call (855) 694-6347 and we’ll get it looked at.
Cold weather thickens lubricant and shrinks metal slightly, so a door that ran quiet in summer gets noisy fast on the first cold morning. In most cases, a fresh application of garage-door lubricant to hinges, rollers, and the torsion spring quiets it. If the noise is a grind rather than a squeak, or if it comes from the opener unit itself, that’s a different symptom and a service call. Either way, the earlier you catch it, the less it costs. Call (855) 694-6347 for an exact quote – estimates are free.
No, not in the direction that matters. The technician inspects first and quotes the job before any work starts, and that written quote is the price you pay. If the inspection turns up something the phone conversation couldn’t have caught, you’ll hear about it and agree to it before any additional work begins. Nothing is added without your approval. Call (855) 694-6347 for a free estimate and a written quote.
The local pro handling your job is licensed and insured as their state requires. If you’d like to confirm the details before booking, ask when you call and we’ll point you to the right information. Our technicians have up to 11 years of experience with garage doors and openers. Call (855) 694-6347 to schedule.
The Bottom Line
The difference between a garage door that runs for years and one that strands you in the driveway comes down to reading the signals in the right order. Start with visible damage, then noise, then movement, then hardware. Lubricate twice a year around Boulder’s cold snaps, watch the weatherstripping for UV cracking in spring, and know the exact thresholds – a gap in a spring, a frayed cable, a track off by more than a quarter inch – that mean stop and call. Most door problems start as something you can catch early. The ones that don’t start as a warning you skipped.
Whether it’s a broken spring, a grinding opener, or a full new door you need installed, Boulder Garage Door Repair Pros covers the full range, on every major brand. Call (855) 694-6347 for a free estimate today.
Written by the team at Boulder Garage Door Repair Pros.